I’ve said it before, but I’m gonna say it again. With the new racing season just around the corner, it’s time to get down to some serious pre-season training.

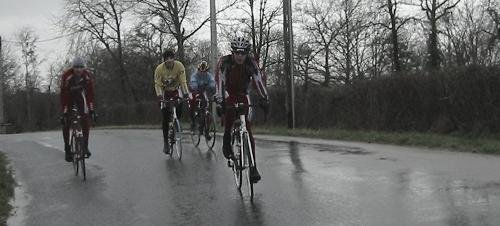
Whatever your cycling discipline (excepting track sprinters) your season will benefit from some winter miles. Staying safe and warm is paramount.
The following tips, and ideas will help you make those early season sessions pay off.
Here’s how to go about it…
Get dressed for winter!
Slap it on!..
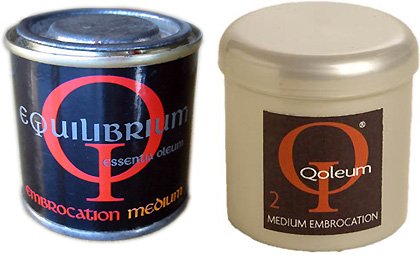
Do like the cyclo-cross riders do, and rub on some hot cream. Knees, lower back, ankles, feet, elbows, shoulders, wherever you need it. Be careful if you have never used this stuff before; wash your hands before touching sensitive body parts. Embrocation is where it’s at.

Under Layer…
A t-shirt will soak up your sweat on the climbs, and freeze you on the descents, and will not do! Get a proper undershirt, one of the manmade fabrics that wick moisture away. A long sleeved that covers your wrists, and lower back is best.
Wear bib-shorts if you have them as they cover more of your torso.
Middle Layer…
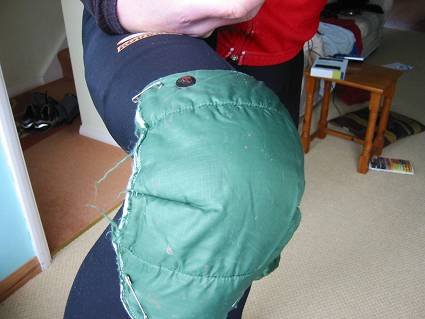
A long sleeved cycling jersey, or two, or an old jersey cut up, and positioned to give you an extra layer over your chest. An old legwarmer can make a superb neck warmer.

Legs…
Get a proper pair of winter tights. Essential! Try a few pairs on before you buy, as the cut varies from make to make. Once you have a good pair of these you’ll wonder how you ever managed before.

Outer Layer…
A good jacket with a windproof front, a high collar, and good pockets will do nicely. Keep your cape in your back pocket, and only use it in an emergency. Once your cape goes on you will tend to sweat up, leading to de-hydration, and ultimately feeling colder. Put your cape on if you have to make a stop, but take it off again once you set off again.
Head…
Get a skullcap that you can wear under your helmet. The difference they make is amazing.
Hands…
A thin pair of under-gloves, then your real gloves. Mitts are warmer than gloves but are not so easy to ride in. It depends on your bike set up. If you have to stop to make repairs etc, and need to take your gloves off, put them inside your jacket so that they stay warm. Put them on the ground and they will be cold in a minute.
Feet…
Wear man-made or wool cycling socks. Those nice sports socks might look OK, but if they are made of cotton they will not work. A thermal insole can help. When it is really cold use a pair of overshoes. It is a balance between keeping your feet warm, and having your feet too warm so that they sweat, and then chill.
Accessories…
Glasses, for keeping stuff out of you eyes. Imagine trying to get something out off your eye when your hands are cold.
A scarf, can be great for wrapping round your face, neck, and if it’s long enough and wide enough to cover your chest, even better.
Lip salve, might be needed by some but real bikers don’t use it! 😉
——————————————————————————–
OK, so you’re done up like a kipper, breaking into a sweat just getting your bike out of the garage, now…
Canal towpaths…
are great for winter training, but they are next to cold water, and always seem to be a colder place to ride.
Roads…
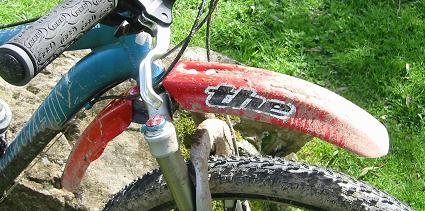
or better still lanes are good, but use a slower bike. Heavy tyres, mudguards, stuff that mean you work harder while going through the cold air. Even if the day is bright, zipping along on your race bike is colder.
Forests…
are warmer! You get more shelter in the forest. Whether it’s an old road bike on the forest roads, a mountainbike, or a downhill bike you’ll stay warmer in the forest.
Wind chills; so if it is windy try to go out against the wind so that you have a tailwind on the way home. If it miserable battling against an icy headwind when you are tired and cold.
——————————————————————————–
A good winter training session makes you feel good, invigorated, and motivated to do more. But be sensible, please!
Let someone know what your route will be and stick to it. Include alternatives if you need to but don’t go off at a tangent
Small groups, of similar ability, are best, 4 to 6 riders are ideal, and you can share the work and look after each other. Any bigger than this and it becomes too ‘stop & start’ (waiting for x to get their gloves on or y to fix their bike etc). Any smaller than this and it can be dangerous if someone has a problem. Like if there is only two of you, and one has a crash you could be forced to leave the victim behind while you go and get help.
Each rider must be self sufficient, don’t expect to borrow a pump or Allen keys.
Take a mobile phone with you. Then if things go wrong you can call International Rescue! (That’s mum, dad, boyfriend, girlfriend, brother, sister, friend etc.
You could call the Emergency Services, but they are for Emergencies only and should never be used to make up for lack of planning or preparation.
If you don’t have a moby take coins for a phone box. BT also do a phone card which you can use from any phone, this gets charged direct to your bill.
Take a number of a taxi company you could use this if you need to get transport and there is no one else to help.
Watch the weather forecast the day before to get an idea of the best time to do the ride. This could make the difference between a miserable wet ride and an enjoyable one.
Take water – it may be cold but you will still need to drink.
Take food – ideally, pack food into small parcels using cling film, or foil.
Things like dried fruit, fig rolls, jam’n’cheese sandwiches, malt loaf are all good. Carry some emergency food, and to ensure that you don’t scoff it anyway, carry something that you do not really like. A mountain walker that I knew used to carry dehydrated dog food!
Essentials
Per rider: Tube/s, pump, tools, cape, food, drink, money
Group: mobile phone, whistle, light, emergency foil blanket.
Considerations:
Map, thermos flask, first aid kit, zip ties, Swiss army knife with one of those attachments for getting boy scouts out of girl guides!


